


Latest articles of category
Climbing grades explained......
(Posted on: 20/09/2016)
How to belay properly with grigri......
(Posted on: 20/09/2016)
History of the UIAA......
(Posted on: 15/04/2011)
Risks of anchor failure......
(Posted on: 08/04/2011)
How to bolt a rock climbing route......
(Posted on: 15/02/2011)
Himalayanism......
(Posted on: 24/01/2011)
Login Form
Recommendations
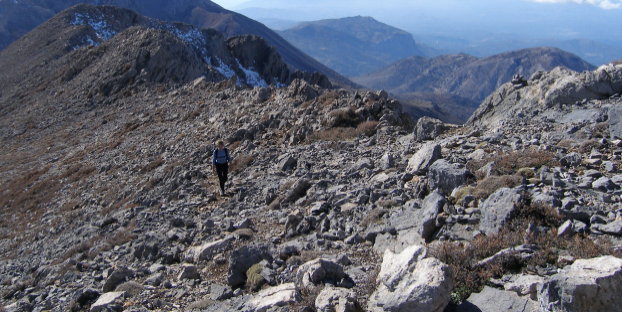
The Himalayan mountain system is the planet's highest, and home to the world's highest peaks, the Eight-thousanders, which include Mount Everest and K2.
In this article we are going to talk about the last big problems in the Himalayas.
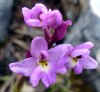
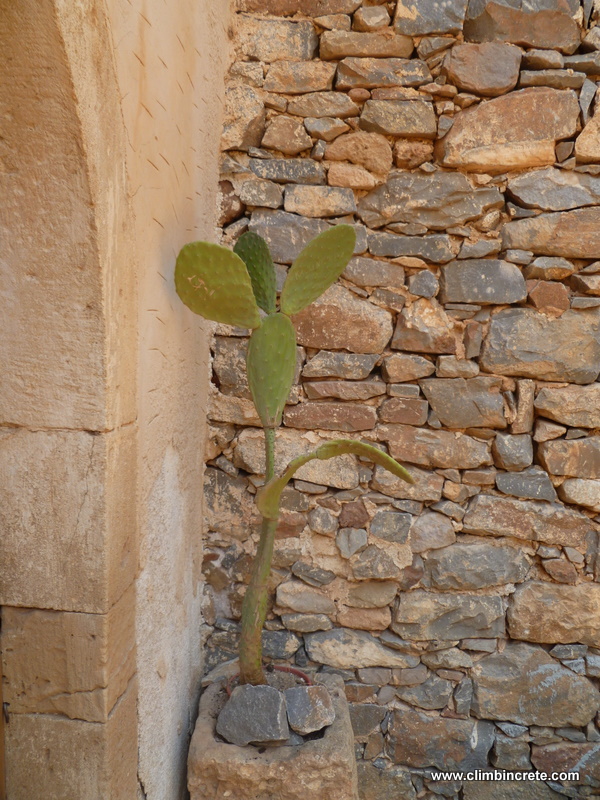
From tiny ferns to colourful orchids, the unusual eco systems of Crete are host to many unique flowering plants, some of which are only found on Crete.
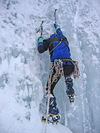
The GRIGRI belay device with assisted braking is designed to facilitate belay maneuvers. It works equally well for lead climbing and top roping.
There are several systems in current use to grade rock climbing. In this article you will get an detailed overview of the most often used in Europe.
Random Photo from Gallery
Latest forum topics
forum still working?
(Posted on: 11/02/2017 by Vincent)
(Posted on: 11/02/2017 by Vincent)
Clubs , partners and community
(Posted on: 29/01/2017 by John87)
(Posted on: 29/01/2017 by John87)
Clubs , community and partners
(Posted on: 29/01/2017 by Guest)
(Posted on: 29/01/2017 by Guest)
Clubs,contacts and climbing partners on Crete
(Posted on: 29/01/2017 by John87)
(Posted on: 29/01/2017 by John87)
Climbing around Chania
(Posted on: 20/09/2016 by sardiman)
(Posted on: 20/09/2016 by sardiman)